
Creating a Role Play Program: Step-by-Step Instructions
Here are step-by-step instructions on how to create a Role Play program!
1. Go to the Program page
You can get to this page by clicking on Programs in the Admin menu.
2. Create a new program
You can do this by clicking on Create program.

3. Name the program and select the default language
Type a title in the text box, select your preferred language, and click on Create program.
Now you will enter the survey page of the Role Play program, under Content. To be sure that the trainee is aware of what they can expect during the program, add an introduction and a promo to the program.
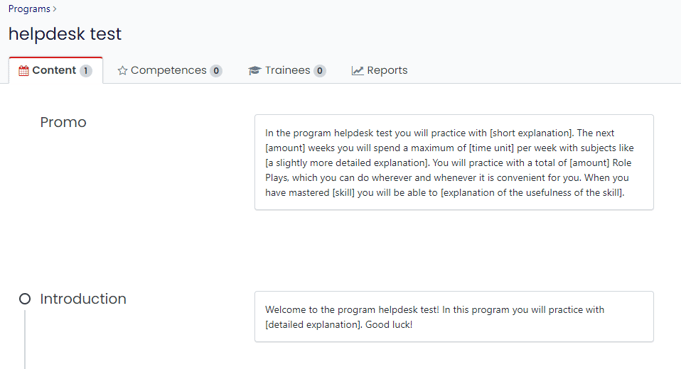
4. Add a promo
By adding a promo, participants will know what the program is about when they accept the invitation to the program.
Click on the Edit button.

You can add a video or image to the promo, as well as edit the description.
5. Add an introduction
Click on Edit once again.
You will see the introduction page here. First, you can add an image or video, with a textual explanation of what the trainee will be learning in the program. You can also add any additional attachments that are useful for the program.
When you’re finished, click on Save below.
6. Add a conclusion
When you have added an introduction, you can also add a conclusion at the bottom of the page. The trainee will see this conclusion when they have finished the entire program. You can add an image or video in the conclusion as well.
When you’re finished, click on Save below.
7. Add a few Role Plays!
When you have added an introduction, you can start adding Role Plays! You can read about how this works here.